
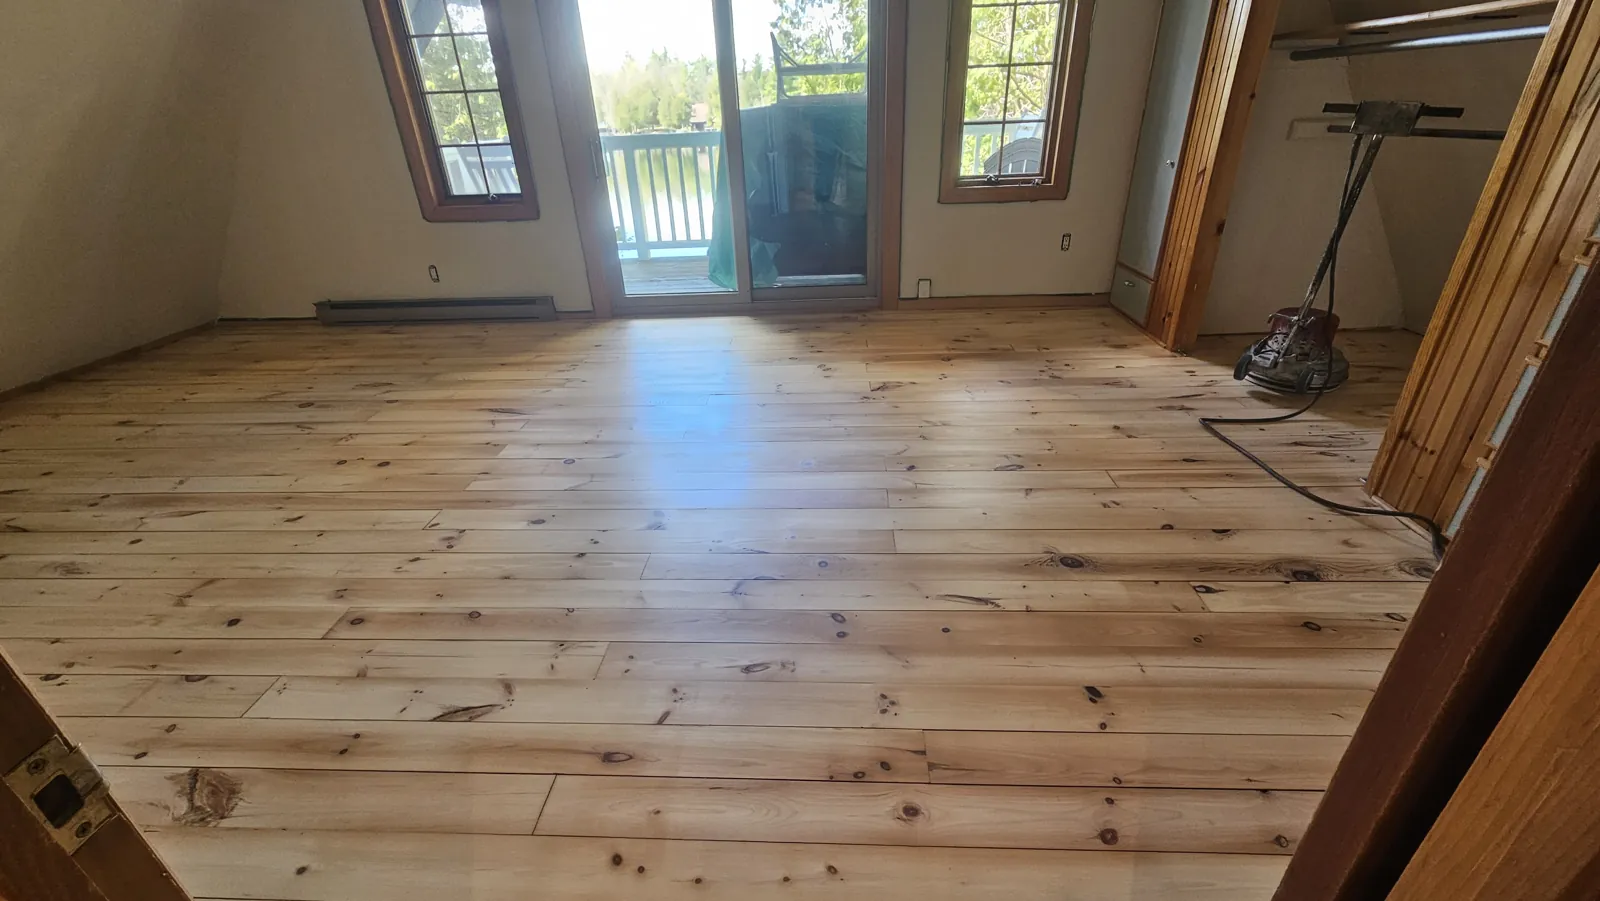
If you're thinking about having your hardwood floors refinished, you've probably wondered what actually happens between "tired, scratched-up floor" and "looks brand new." The short answer: it's not one machine and one pass. A proper refinish is a sequence of sanding stages, each with its own machine and its own job, working from aggressive to ultra-fine. Skip a stage — or rush one — and the finish will show it.
Here's exactly how we sand and refinish hardwood floors in Ottawa homes, step by step — the same process we run in century houses in the Glebe and Hintonburg, post-war bungalows in Alta Vista and Nepean, and newer builds out in Kanata, Barrhaven, Orleans and Stittsville.
Step 1: The Rough Cut — Belt Sander, Low Grit
Every refinish starts with the belt sander. This is the big machine — a heavy, walk-behind sander that does the hard work of the entire job.
Running a low-grit abrasive, the belt sander strips away:
- The old finish (polyurethane, varnish, or whatever was applied years ago)
- Surface scratches, scuffs, and wear patterns
- Sun fading and discolouration
- Minor unevenness between boards (true cupping needs assessment first — sanding a cupped floor before it has dried out flat can make things worse)
- Pet stains and water marks in the surface layer (deeper damage is handled with board repairs before we sand)
How fast this goes depends on what you've got. Hard maple is denser than red oak and cuts slower while dulling abrasive faster; century pine is far softer and needs a lighter hand so you don't take off more than you meant to; and prefinished floors add their own problem — the factory's aluminium-oxide coating is brutally hard on paper, and the bevelled edges between boards have to be cut flat before the floor reads as one surface.
The machine's weight is a feature, not a bug: consistent pressure across the drum is what keeps the cut flat and even across the whole floor. By the end of this stage, you're looking at bare, raw wood — the floor your home had the day it was installed.
Step 2: The Edges — Where the Big Machine Can't Reach
A belt sander is powerful, but it can't sand right up against your baseboards, into corners, or around door casings. That's what the edger is for.
The edger is a hand-guided disc sander built for perimeter work. We run it along every wall and around every doorway, matching the grit sequence of the main floor so the edges blend seamlessly with the field. True inside corners are beyond any round disc — those get detailed by hand with scrapers and sanding blocks.
This stage is also why one of the most common questions we get has a happy answer: no, you don't need to remove your baseboards. The edger cuts cleanly right up to them — which matters in older Ottawa homes, where original baseboards and trim are often the last thing you want disturbed.
Edge work is slow, physical, and easy to do badly — in inexperienced hands, the edger leaves dish-outs and swirl marks in a halo around the room that only show up after the stain or finish goes on. It's one of the clearest differences between a professional job and a rental-machine weekend.
Step 3: Progressive Grits — Erasing the Scratches You Just Made
Here's the part most people don't realize: sanding is really the process of replacing big scratches with progressively smaller ones.
That low-grit rough cut left the floor bare and flat — but also covered in coarse scratch patterns. So we climb the grit ladder, pass by pass. Each successively finer grit removes the scratch pattern of the grit before it, until the scratches are too fine for the eye to see.
Jumping grits to save time is the classic shortcut — and it's invisible right up until the finish goes on, when the leftover deep scratches telegraph straight through the sheen.
Step 4: The Final Smoothing — Planetary Sander
For the final stage, we switch to the planetary sander — a multi-disc machine whose heads spin and orbit simultaneously, so the abrasive approaches the wood from constantly changing directions.
This is the machine that takes a floor from "sanded" to "flawless":
- It blends the field (belt-sanded) and the perimeter (edger-sanded) into one uniform surface with no transition lines
- The multi-directional cutting action eliminates directional scratch patterns
- It leaves the wood uniformly smooth, so stain and sealer absorb evenly instead of blotching
If you've ever seen a refinished floor with a subtle "picture frame" — a visible band around the room where the edger worked — that's a floor that skipped proper final blending. The planetary stage is what prevents it.

Step 5: Colour — The Sealer or Stain Coat
Once the floor is sanded to bare, smooth wood, it's decision time — and this is the fun part, because raw wood is a blank canvas. The first coat that goes down is either a sealer or a stain, and that single coat decides the colour of the floor:
- Clear sealer keeps the wood's natural colour, just enriched
- Tinted sealers shift the tone — from clean and pale to warm amber — without a full stain
- Stain takes the floor anywhere from whitewashed to deep espresso
We sample sealers and stains directly on your actual floor before committing, because the same product looks different on every floor — species, age, and sanding all change how the colour takes. It matters most on maple and birch, whose closed grain can take stain blotchily, and it's how we get red oak to read cooler than its natural pink. You can see what finished results look like in our gallery.
This is also the coat that shows up every shortcut taken earlier. Any scratch the grit ladder missed, any swirl the edger left, any spot the planetary sander didn't blend — colour finds all of it. A floor that looked perfect bare can look patchy the moment the sealer goes on, which is exactly why the sanding stages matter as much as they do.
Step 6: Protection — Two Clear Coats, With a Buff Before the Last
Colour isn't protection. Over the sealer or stain go two clear coats, and that's what your family actually walks on — the layer taking the chair legs, the dog's nails and the winter grit tracked in off an Ottawa sidewalk.
There's a step in here most homeowners never hear about. Water-based finish carries water, and water swells wood fibres — so the first coat lifts the grain slightly and leaves the surface faintly rough, like very fine sandpaper underfoot. Coating straight over that locks the texture in permanently.
So before the final coat we buff the floor — an abrasive pad run over the whole surface to cut the raised grain back flat, then a thorough vacuum and tack so nothing gets trapped under the last coat. It adds time to the day and it's the difference between a floor that feels glass-smooth underfoot and one that feels slightly gritty forever. It's invisible in a photo and obvious in bare feet.
We use water-based finishes throughout, and we're upfront about why we think they're the right choice for family homes:
- Low odour and low VOCs — your home stays livable during and after the job
- Fast drying — multiple coats in a day, furniture back sooner
- Non-yellowing formula — water-based finish resists the ambering that oil-based finishes are known for, so your floor keeps the colour you chose
- Durable — modern waterborne finishes are proven in homes with kids, dogs, and real life
One Ottawa Thing Worth Knowing: The Climate
Ottawa asks more of a wood floor than most cities do. We run humid summers and then heat our homes through months of deep cold, and indoor humidity can fall to 20% or lower in January. Wood responds — it gives up moisture and shrinks in winter, then takes it back and swells through summer.
Practically, that means the thin gaps between your boards in February are usually seasonal, not damage, and many of them close on their own by July. It's why we don't rush to fill normal winter gaps, and why we assess a cupped or gapped floor with the season in mind rather than sanding it flat at its most extreme point. A humidifier in winter is genuinely the cheapest thing you can do for your hardwood.
How Long Does It All Take?
For a typical Ottawa home — and we work across Ottawa, Kanata, Nepean, Barrhaven, Orleans, Stittsville, Gloucester and Manotick — sanding and refinishing runs a few days: sanding and sealing, then finish coats with drying time between. Water-based finish dries fast enough to walk on in hours (in socks!), with furniture back typically within days. Full cure takes about a week — we'll tell you exactly when area rugs and heavy pieces can safely go back. Every floor is different, and you'll get an exact timeline with your quote.
Common Questions
Do I need to move out?
Usually not. Water-based finish is low-odour, and we stage the work so you keep access to what you need.
Do you remove baseboards?
No — the edger sands right up to them (see Step 2).
What about dust?
Our sanders run with dust collection, and we contain and clean as we go. You should expect a refinish, not a renovation disaster zone.
Does it matter what species my floor is?
Yes — mostly for colour. Red and white oak take stain evenly and give you the widest range of looks. Maple and birch have a closed grain that can blotch, so they're happiest with clear or lightly tinted finishes unless we sample a stain first. Pine is soft and sands fast, so it needs a lighter hand. We identify your species at the assessment and tell you what's realistic.
Can every floor be sanded?
Most solid hardwood can be refinished many times, and damaged boards can be repaired or replaced before sanding — it's a normal part of the job, not a dealbreaker. The main exceptions: engineered hardwood with a thin veneer wear layer (we measure before quoting), floors already sanded to the nails, and vinyl or laminate. If your floor can't be saved, we'll tell you straight and talk about replacement options.